Hello everyone! I'm Lera from Geekboards. Today I want to share with you how our team and I take care of mechanical keyboards — both ours and yours. If you need a guide for deep cleaning your keyboard, you'll find detailed instructions below.
Why Regular Cleaning of Your Mechanical Keyboard Is Important
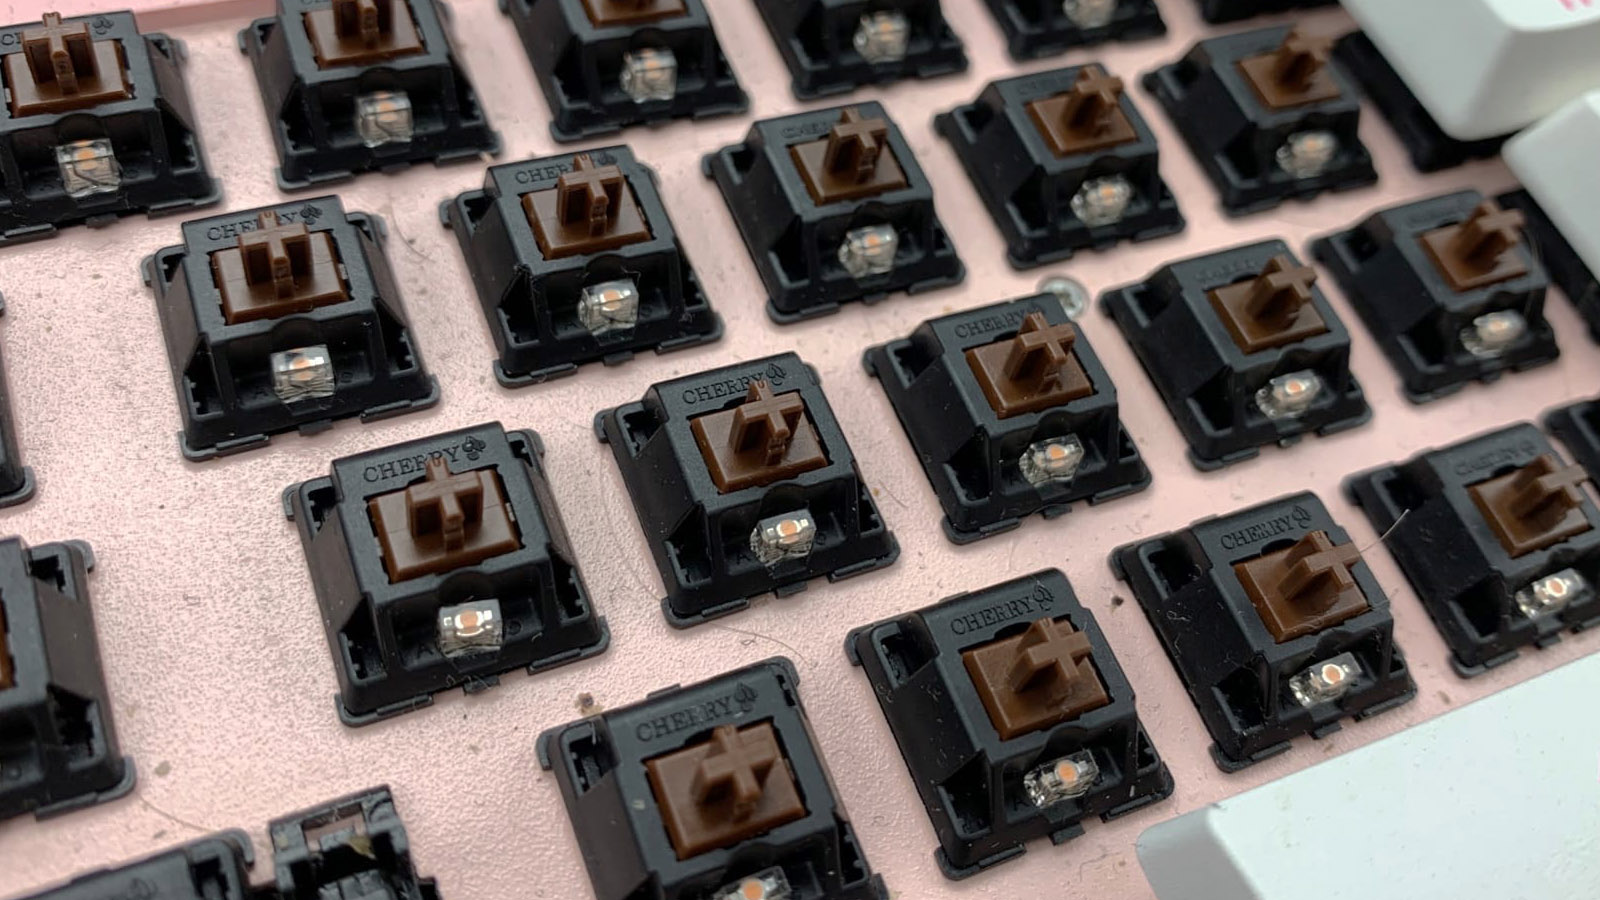
Let's start with the fact that a mechanical keyboard really needs care to maintain its lifespan and original appearance. Dust, hair, crumbs — all of these accumulate under the keycaps and inside the case, gradually clogging not only the plate and PCB but also the switches themselves. Most often, this is the cause of double clicks and sticking keys.
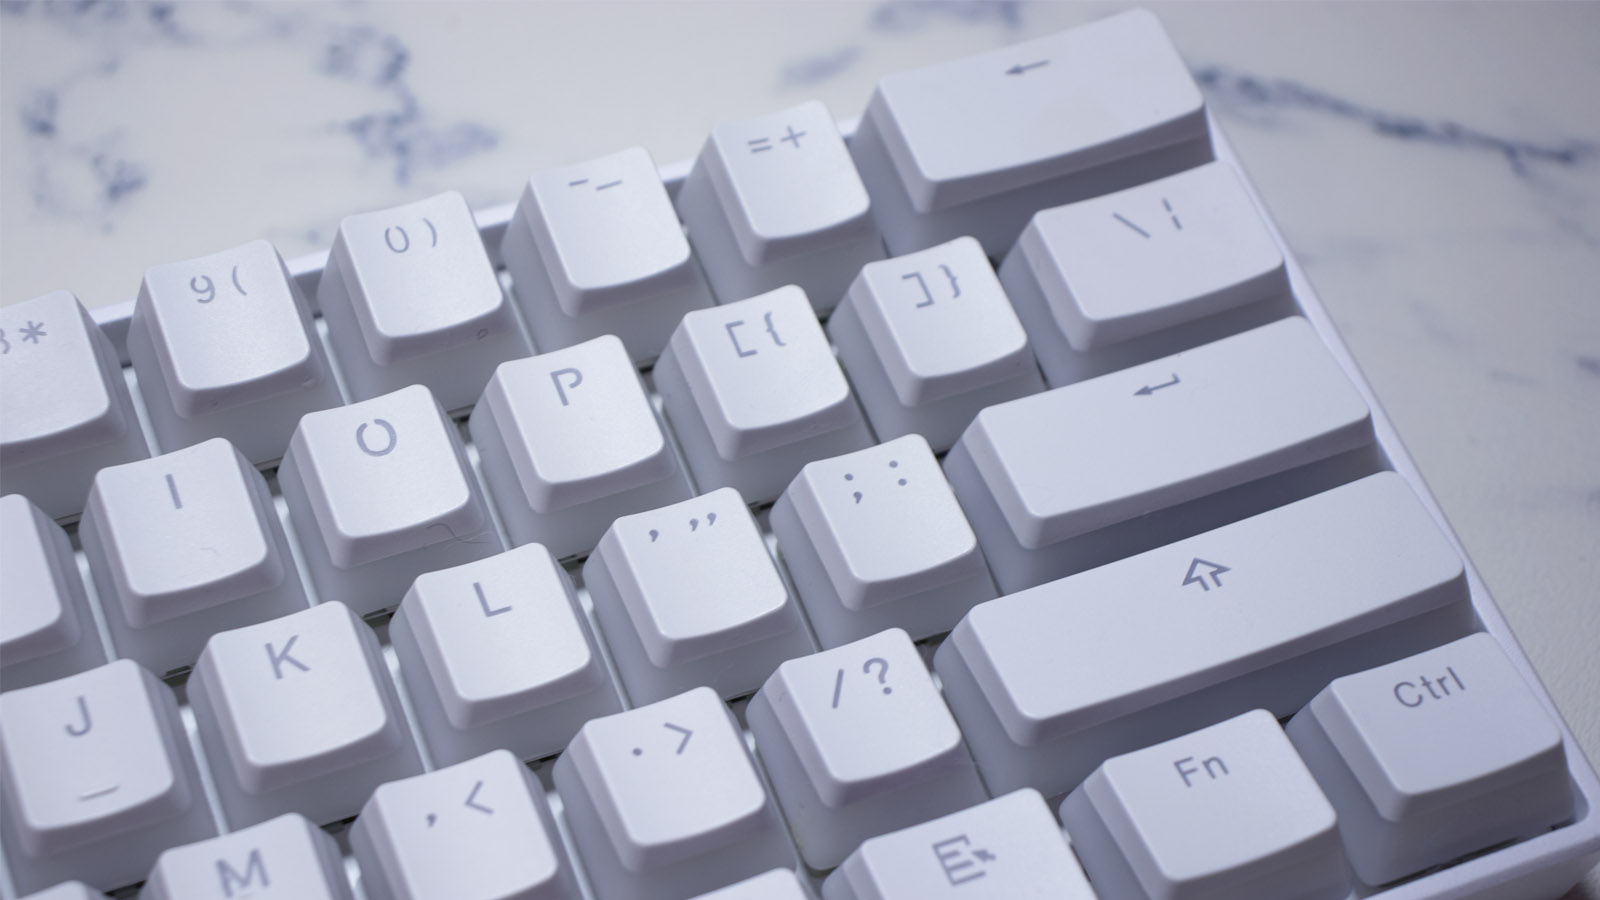
Here's an example of a keyboard we regularly clean for a client:
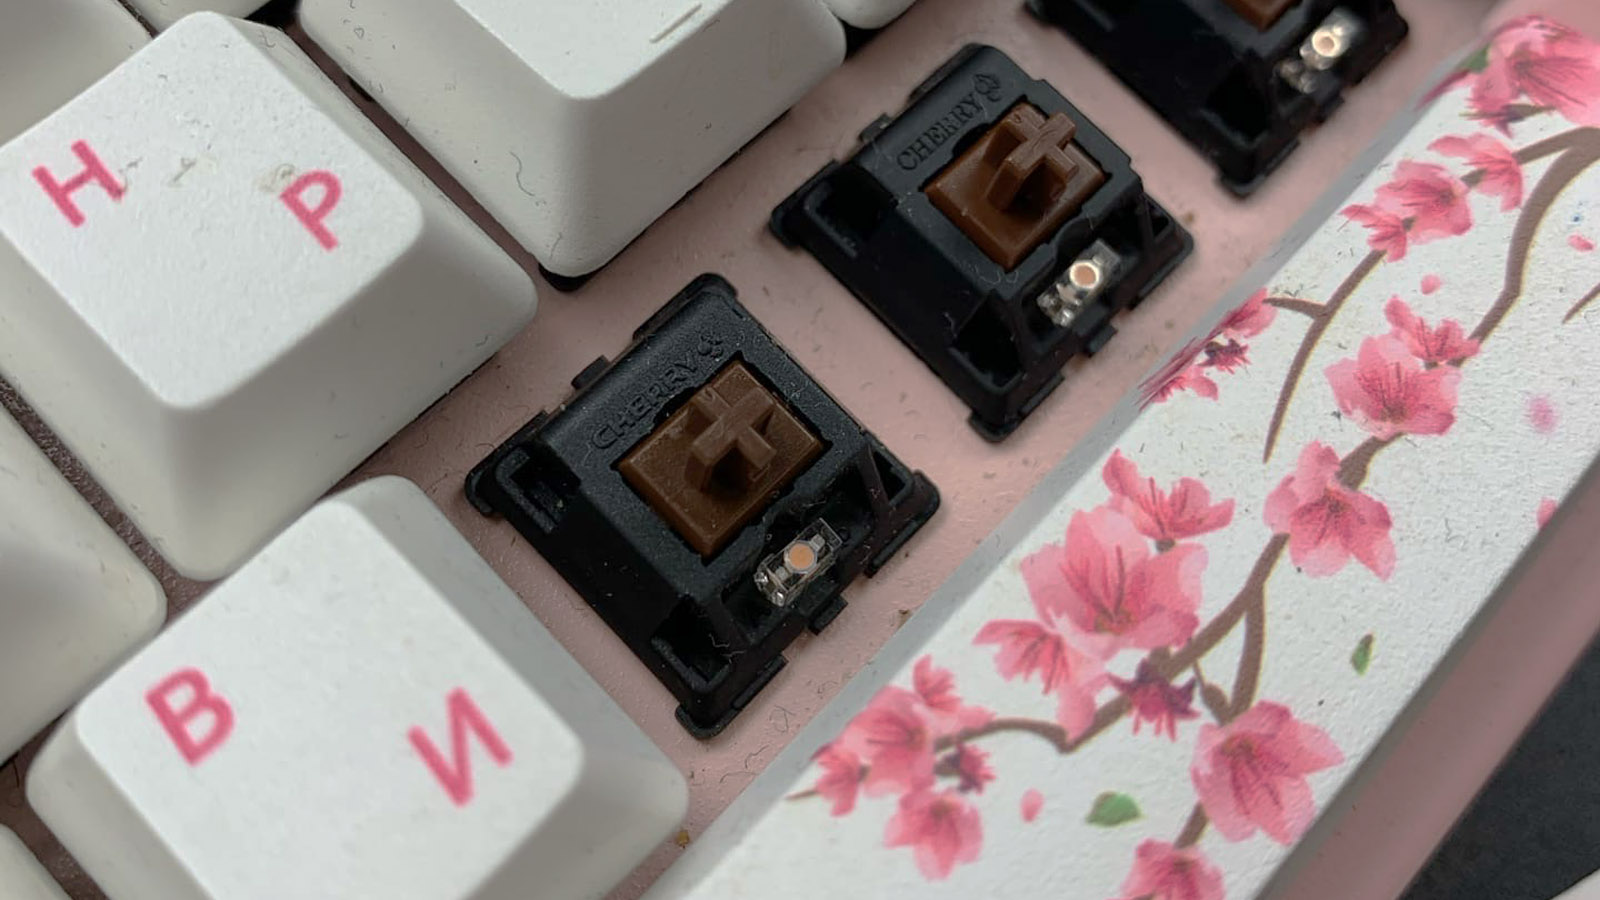
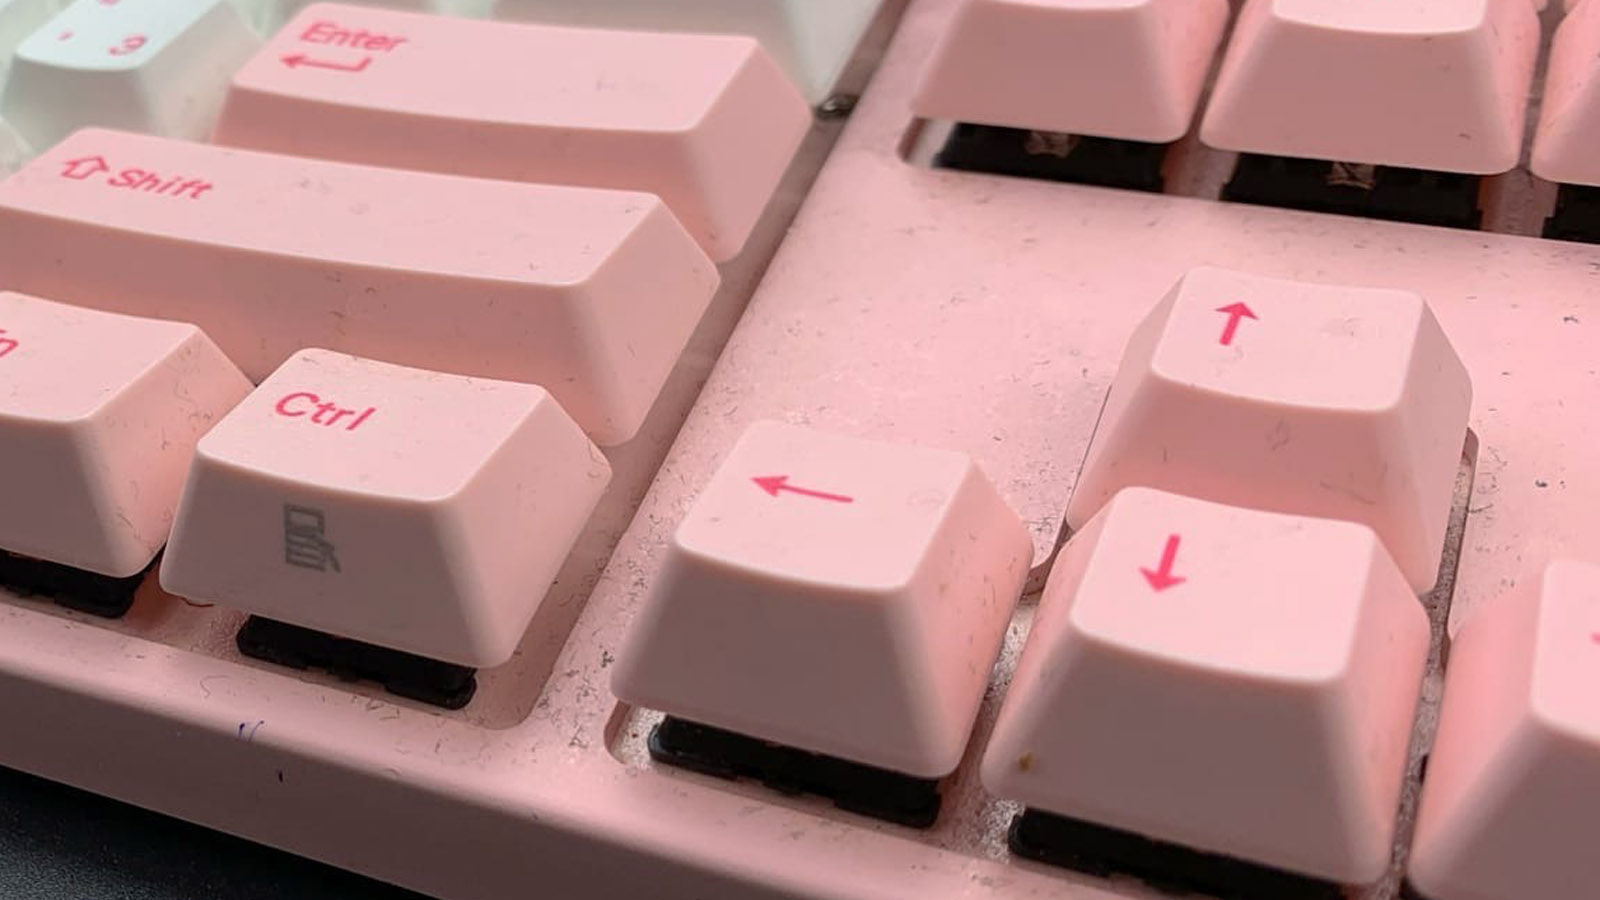
Today, I'll be cleaning my keyboard together with you. Its condition is pretty run down (not for the faint-hearted 😄):
Tools Needed for Cleaning a Mechanical Keyboard
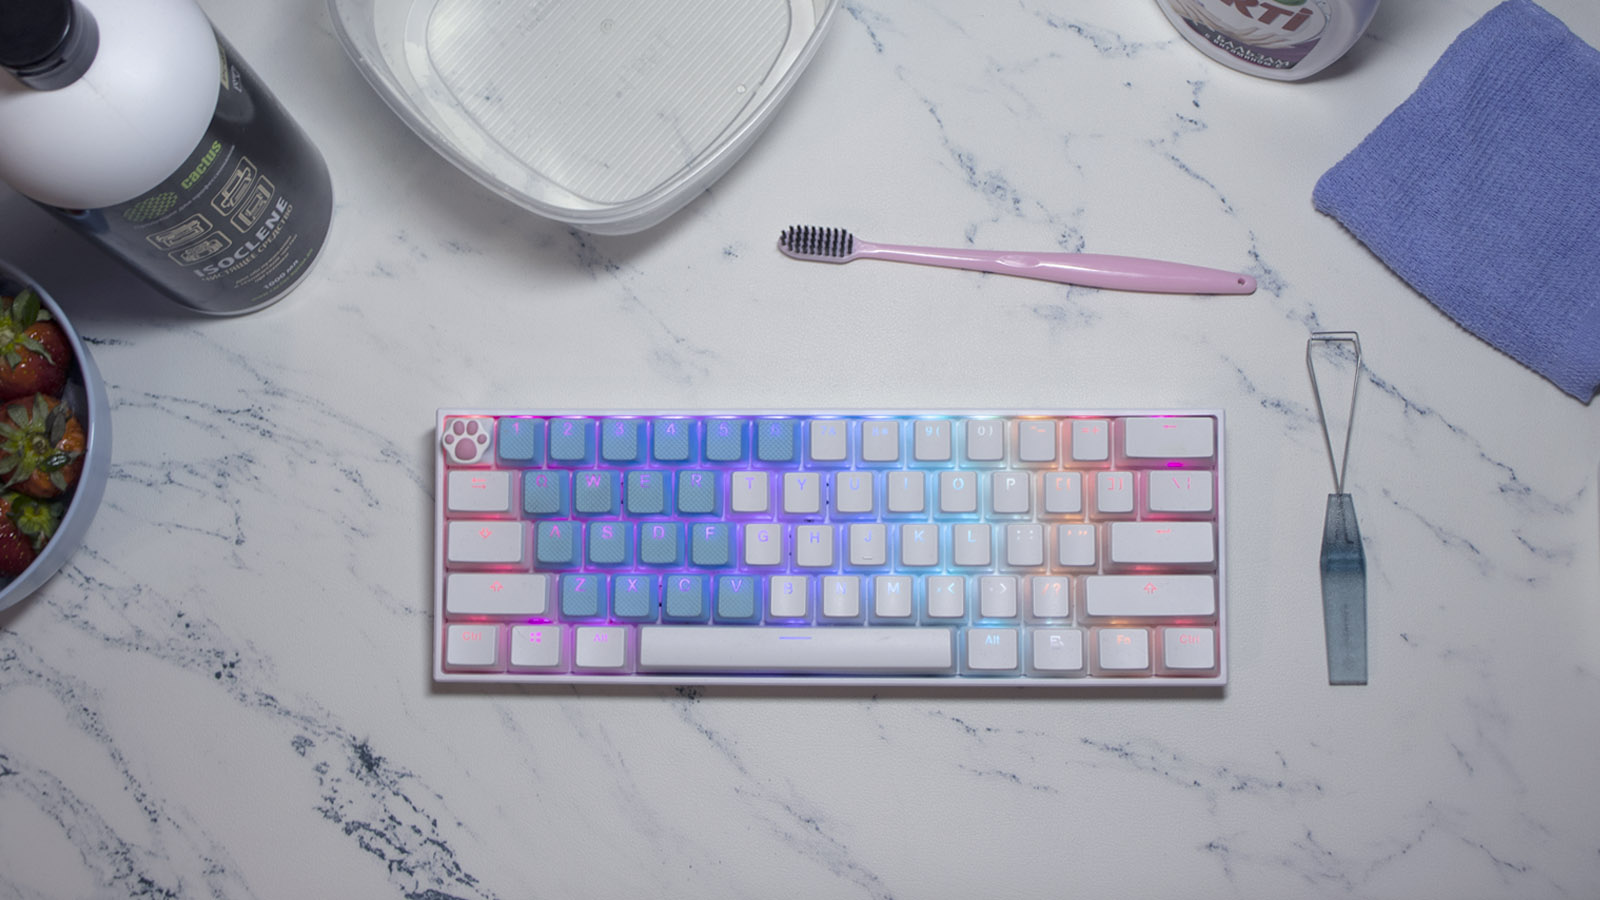
I believe everyone will have a vacuum cleaner, cloth/wipe, cleaning agent, and of course, water at their disposal. And if you want to do everything perfectly, you can add distilled water and a keycap puller to the list. This slightly speeds up the work, and I'll explain why during the process.
Step-by-Step Guide to Cleaning Your Mechanical Keyboard
Step 1: Preparing Your Keyboard for Cleaning
First, unplug the keyboard — this is very important! A single unfortunate drop of water can cause a short circuit, and the keyboard will be gone.
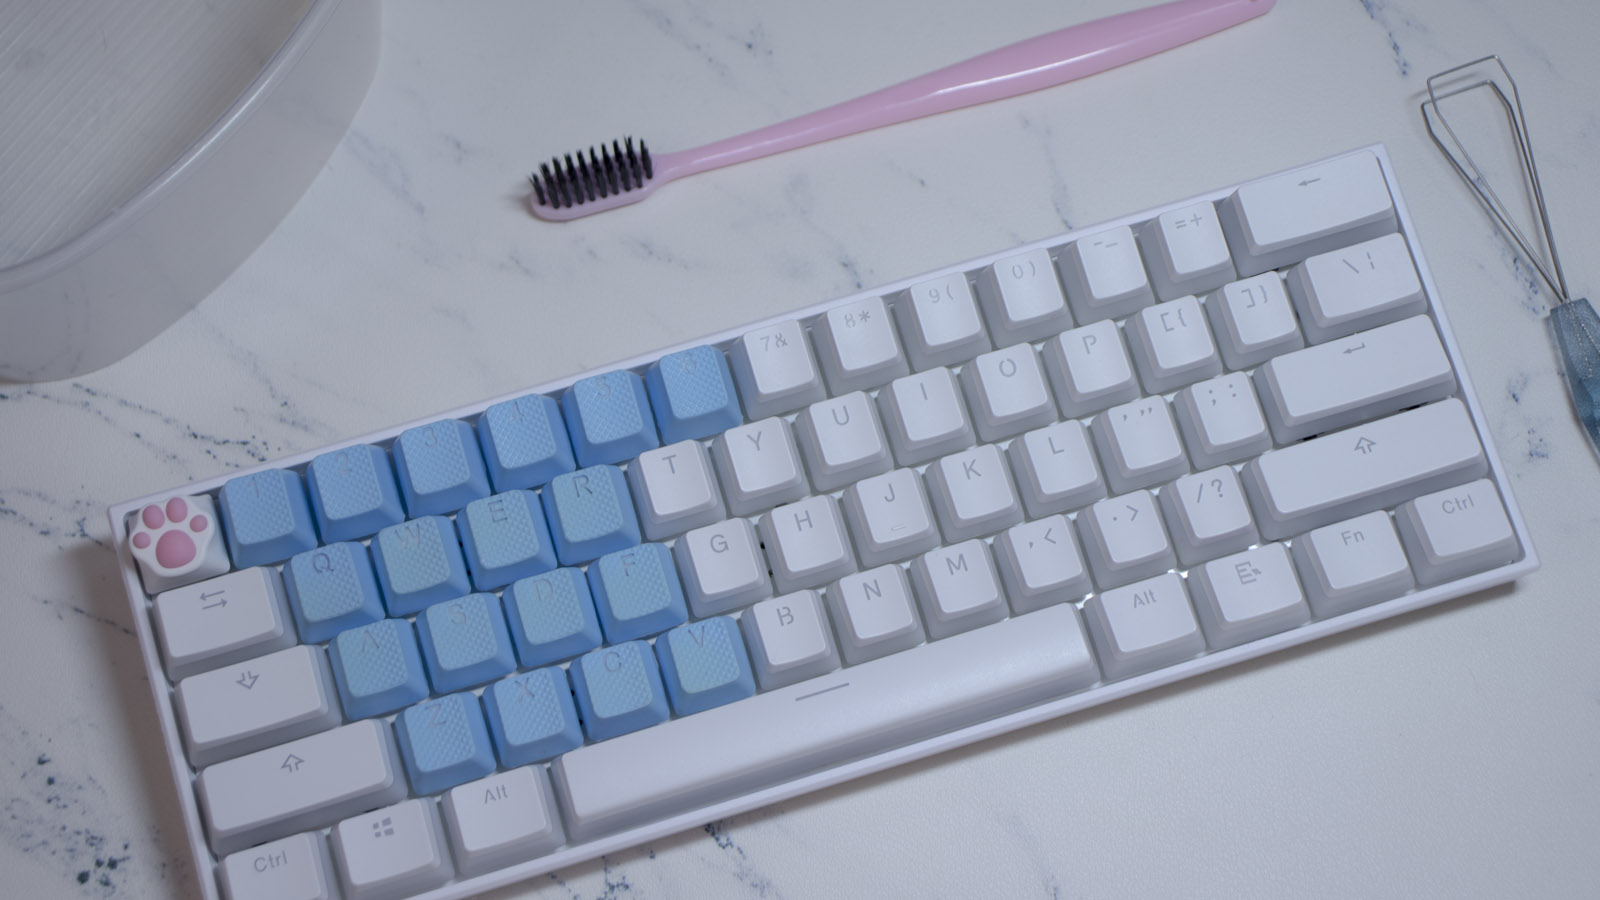
Step 2: Removing the Keycaps
Remove all keycaps using a puller. If you don't have one, just pry them up with anything handy, even a plastic card. But a keycap puller greatly speeds up the process, so it's better to get this magic tool.
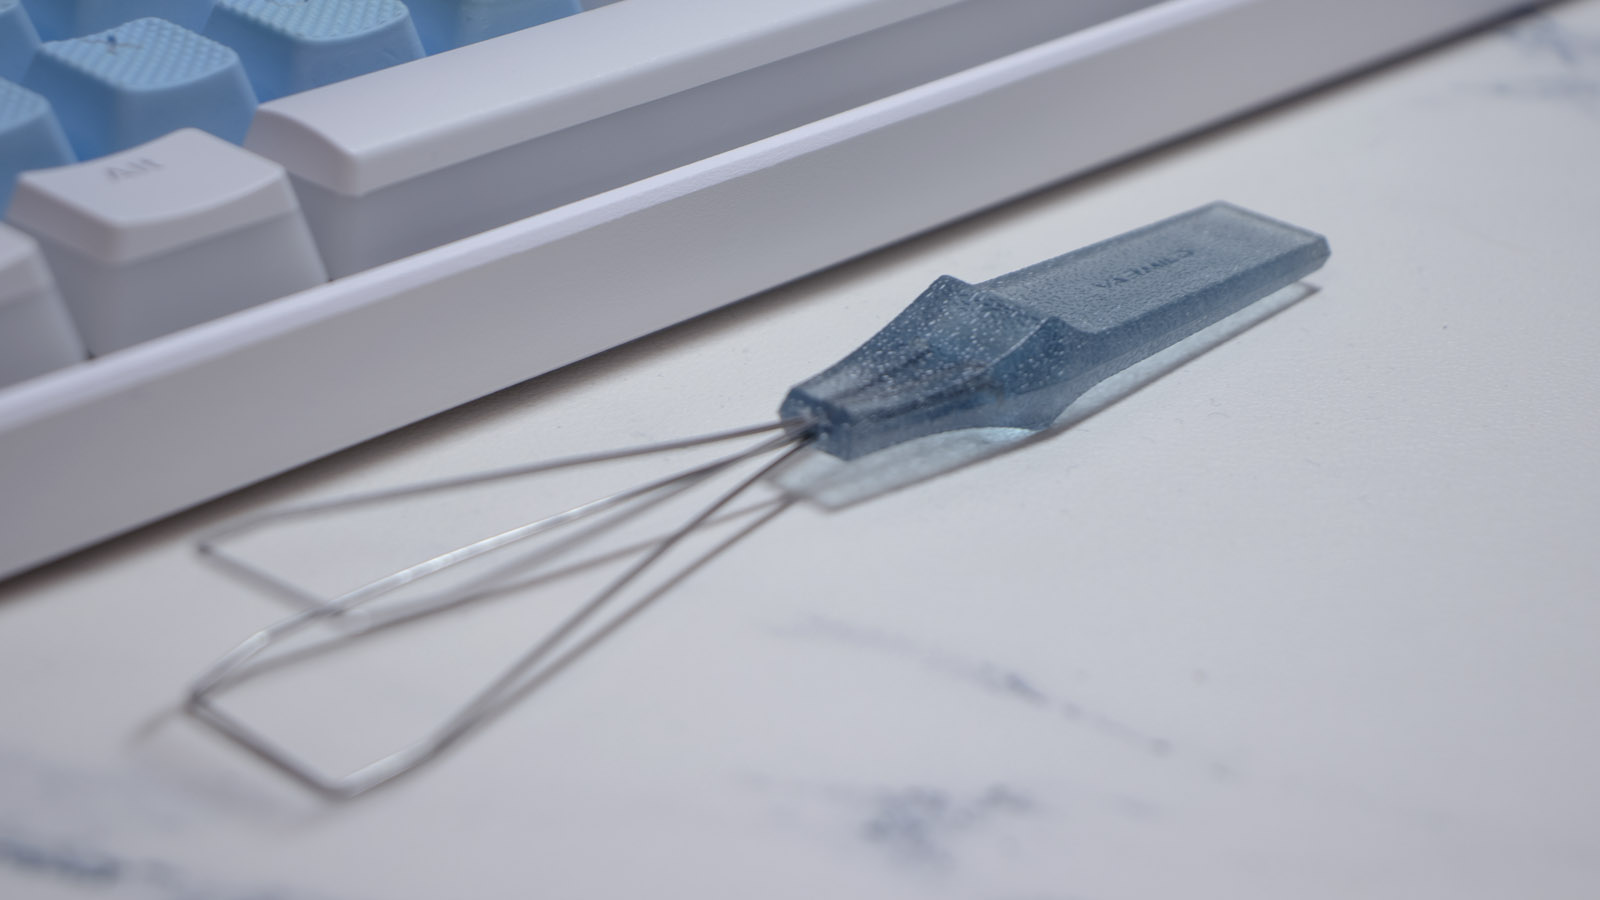
Step 3: Cleaning the Keycaps
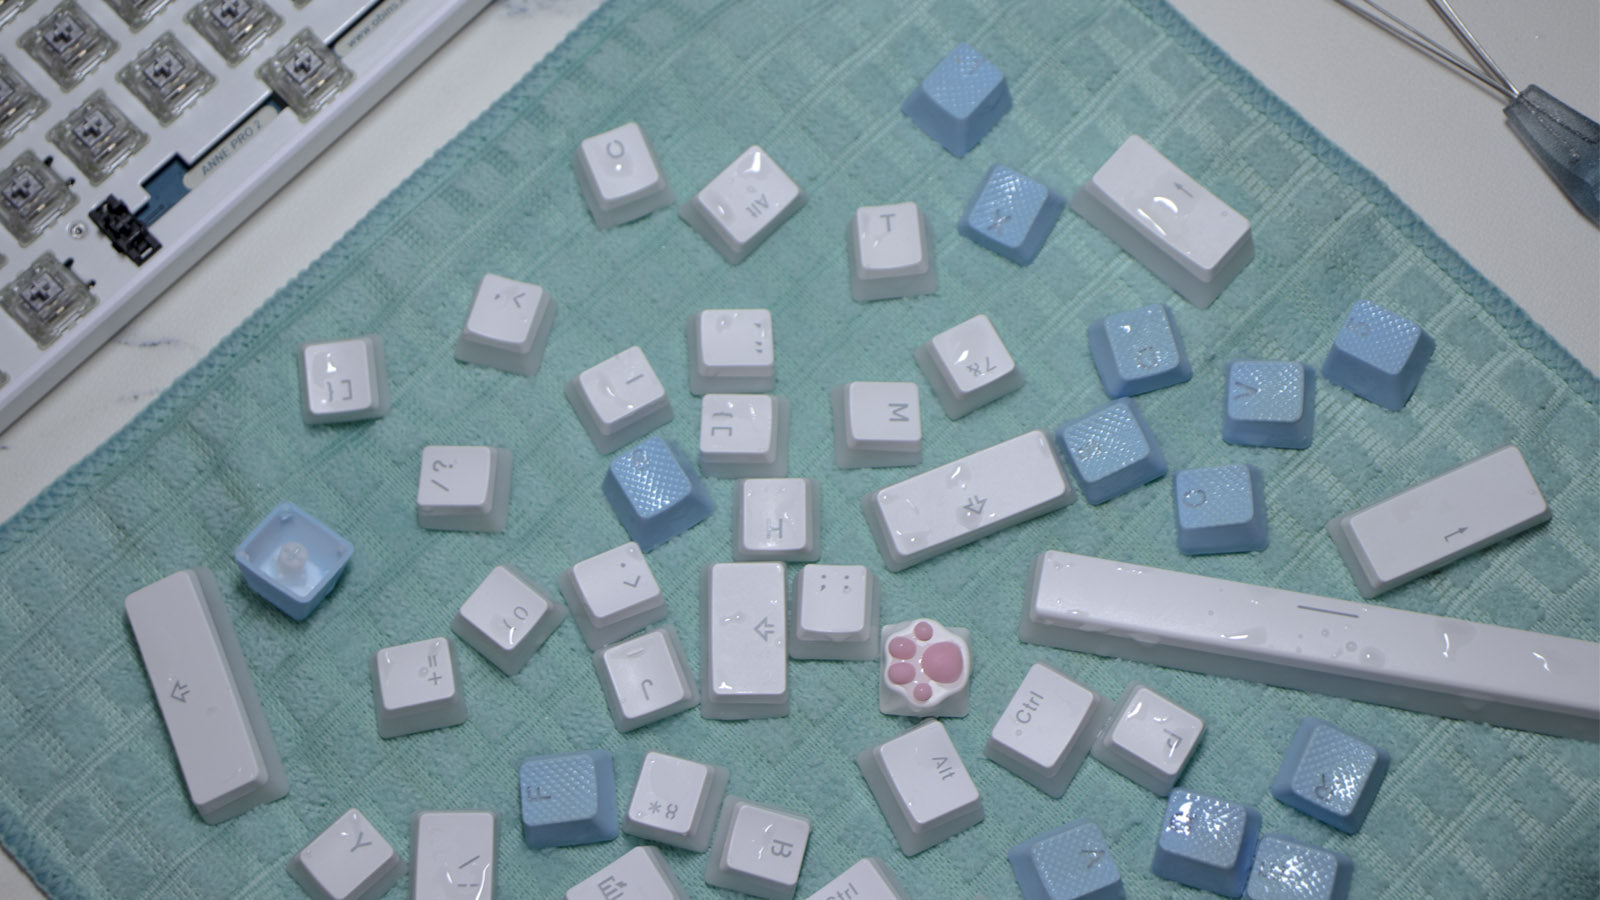
You can clean them very easily. Just put them in regular tap water. It will deal with the dust. You can add dish soap or any cleaning agent if the keycaps are dirtier than usual. Let them soak for about 15 minutes.
Tip: Tap water often leaves white streaks on the keycaps, as it contains various impurities. If you soak the caps in distilled water, there will be no streaks.
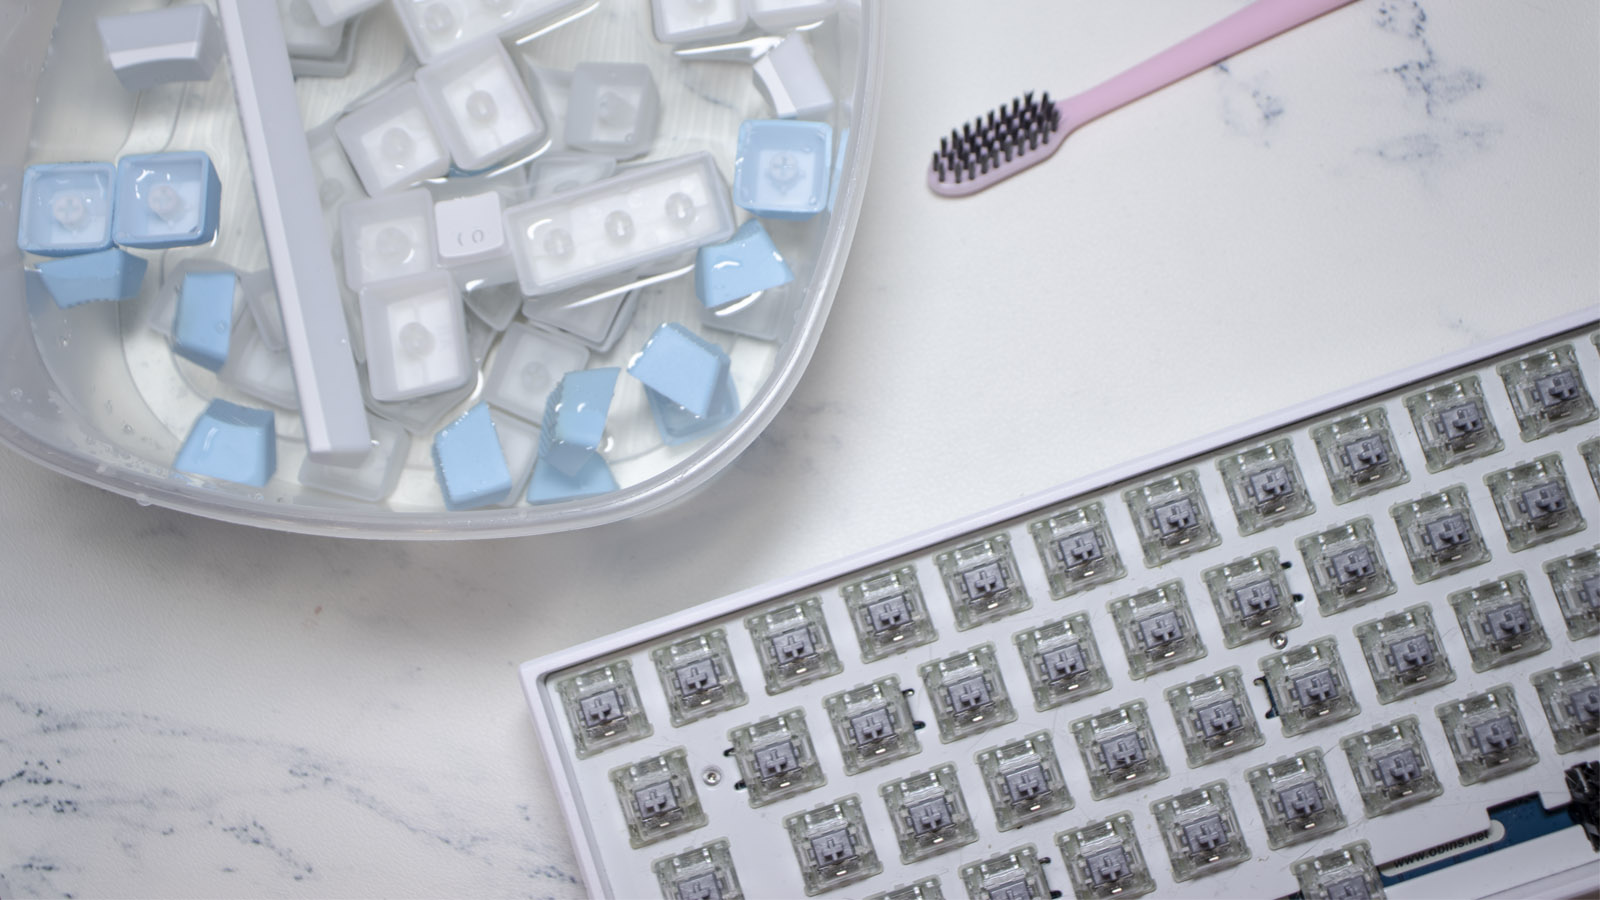
If you don't want to bother, just wipe each cap individually with a cloth. But this takes a little longer.
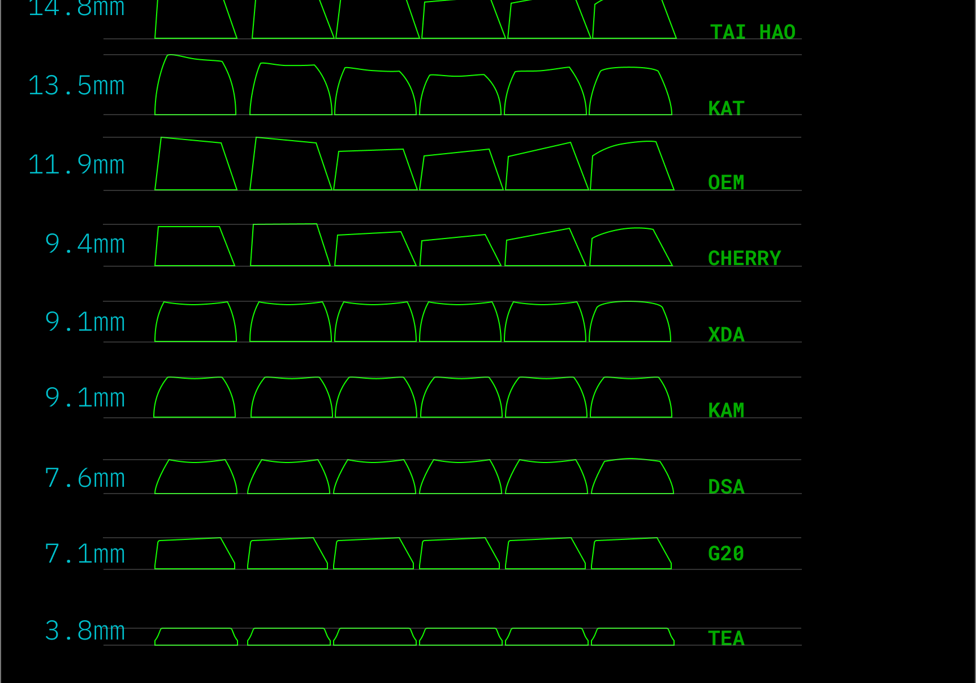
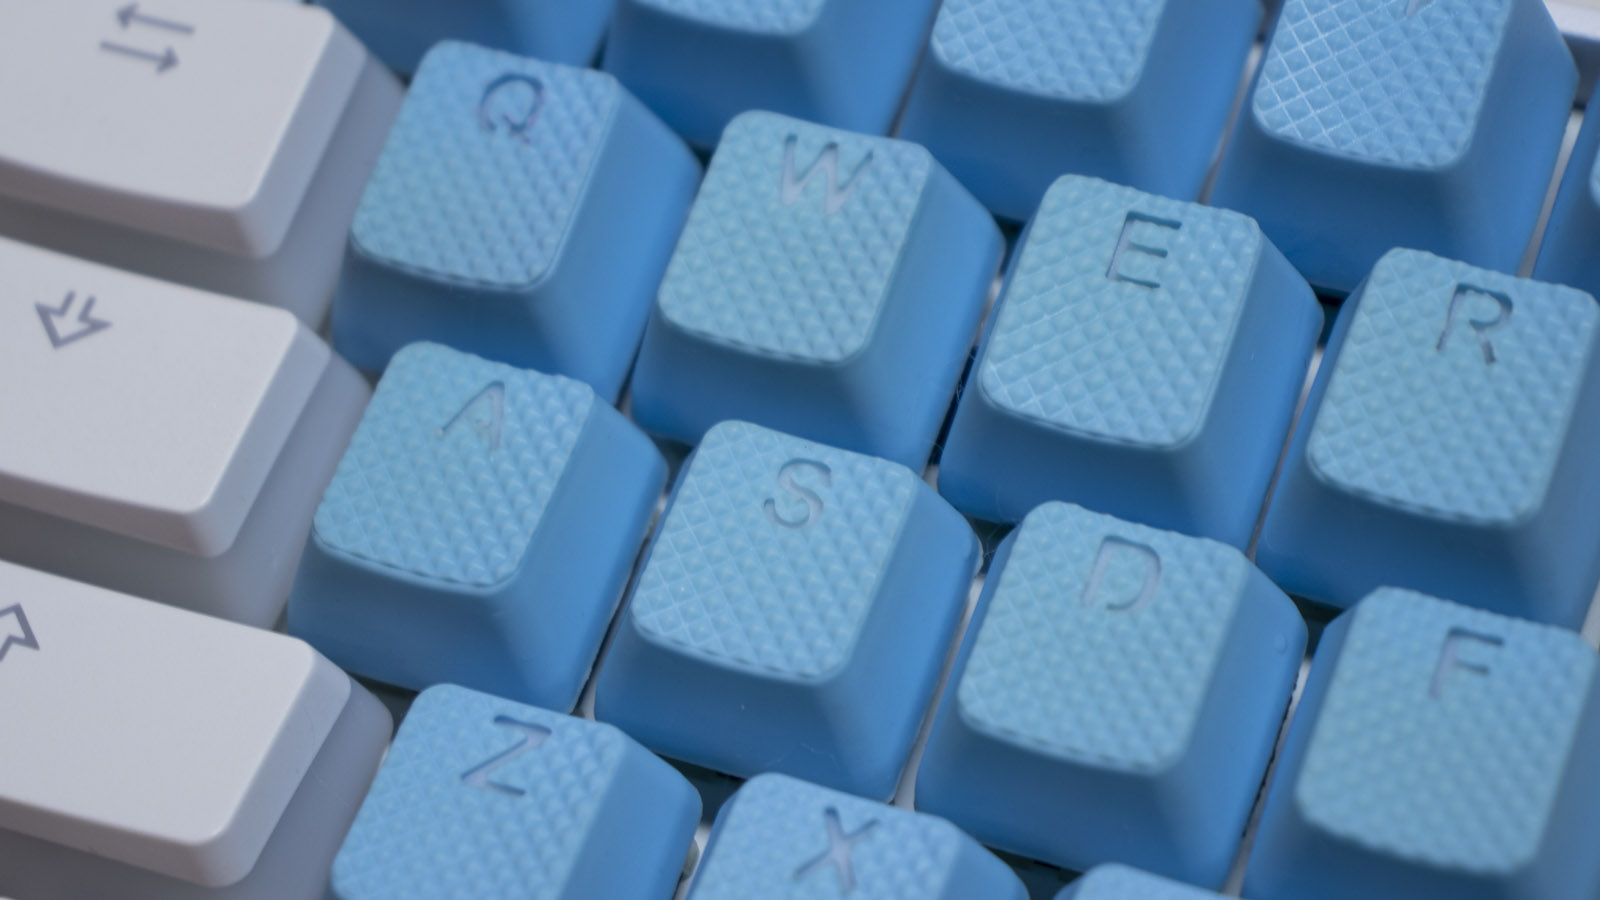
Important note: If dirt has embedded itself into a keycap, it should be individually cleaned with soap or any cleaning agent. Just apply the cleaning agent onto a sponge or brush, give it a thorough clean, and then rinse it with water. I have blue Tai-hao keycaps — they're rubberized ABS plastic and they get very dirty, so I definitely clean them additionally. A toothbrush + dish soap, a couple of minutes, and it's done.
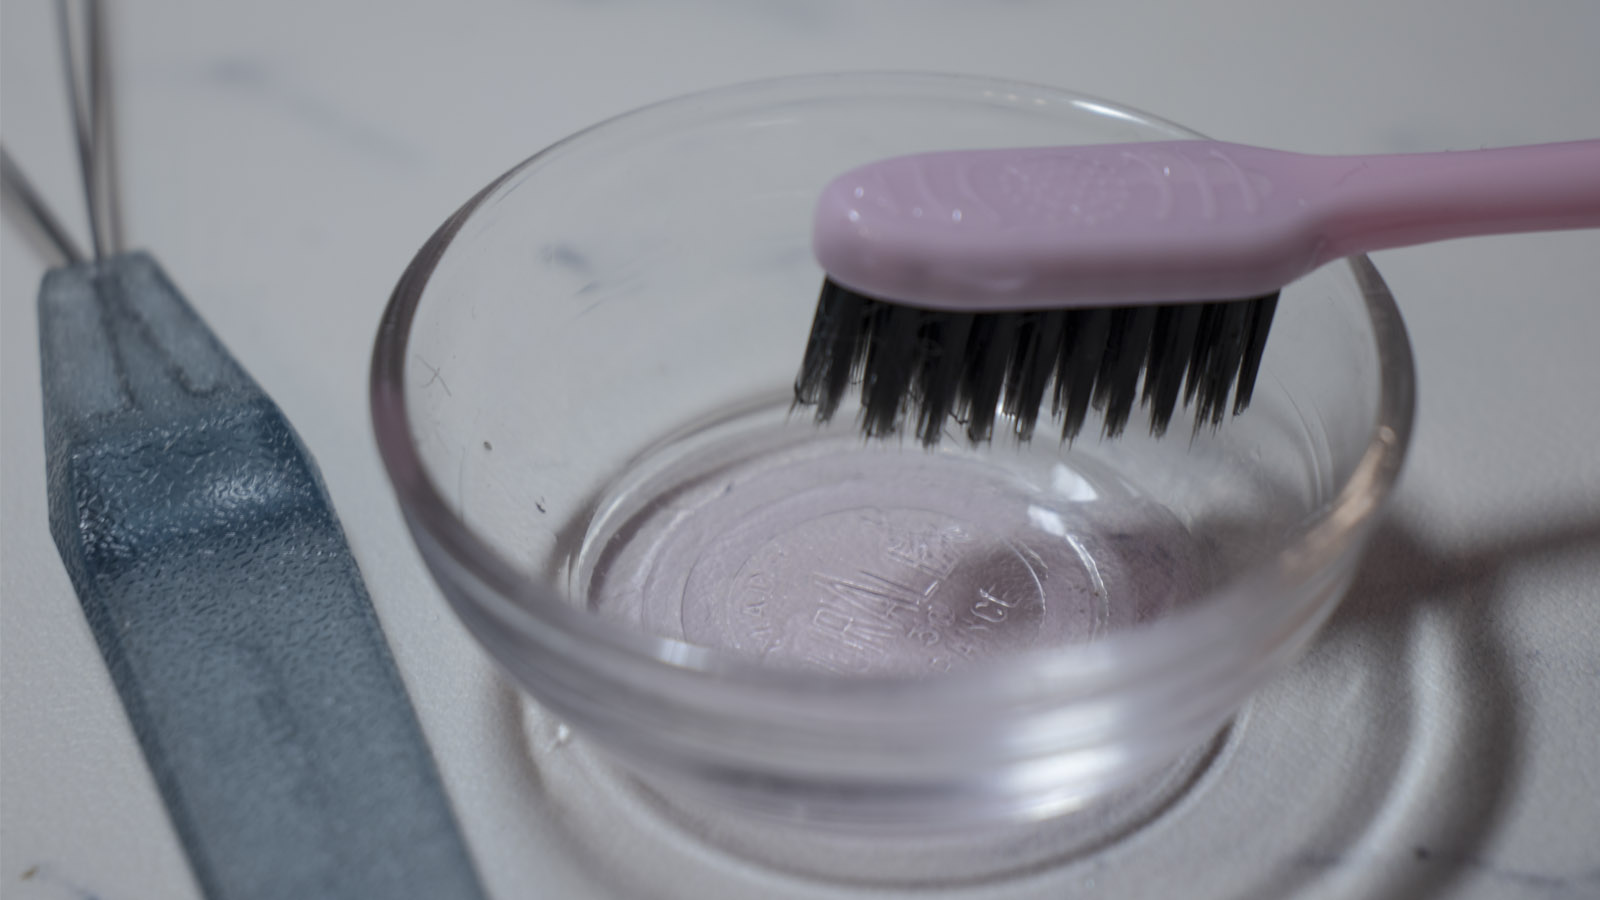
Step 4: Cleaning the Plate and Case
While the keycaps are freshening up, let's tackle the plate and the case.
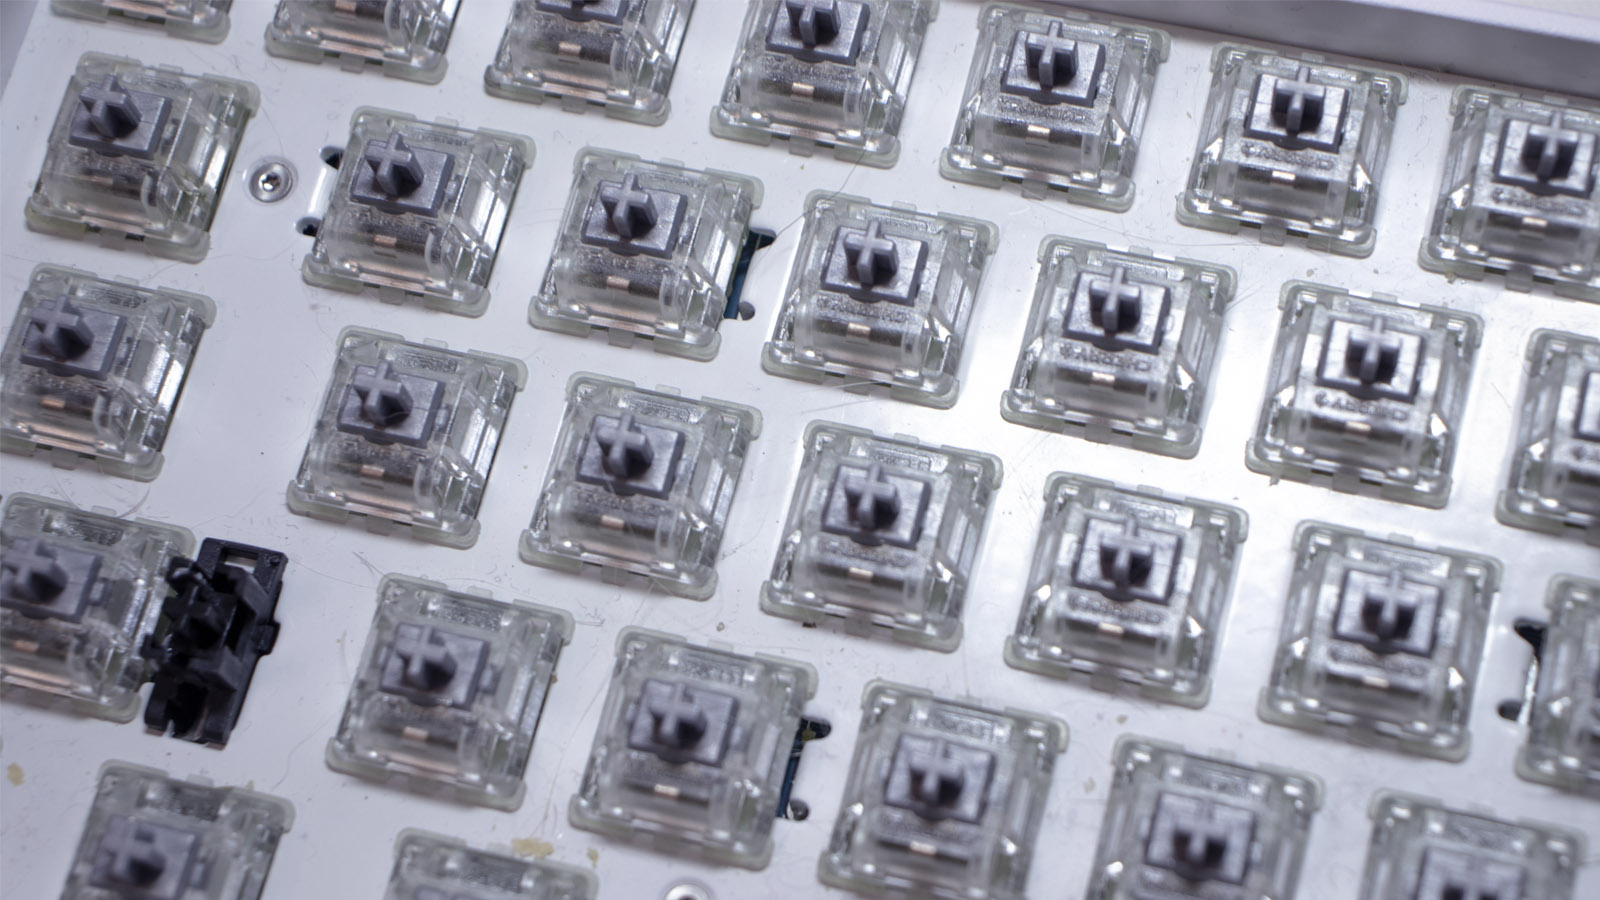
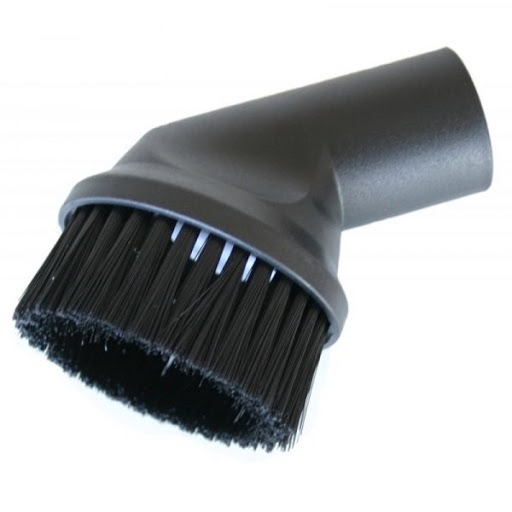
Take a vacuum cleaner, put on a small brush nozzle (if you don't have one, you can do without it) and start cleaning the plate. If you don't have a vacuum cleaner but do have a compressed air duster — you can use that. There is an option to test your lungs and simply blow all the debris away. This may not be as efficient, but it will work. The downside of using the latter two methods is the subsequent cleanup of the debris from the table, cupboard, floor, etc. Everything will just scatter around 😊
Step 5: Cleaning the Switches
If there's some alcohol (up to 40%) at home, you can drip a few drops into each switch, 2-3 drops should suffice. This is necessary to clear out the dirt that has gotten into the switch. This is especially helpful if you have double clicks or slight stickiness. Make sure to press all the switches after dripping to make sure it works.
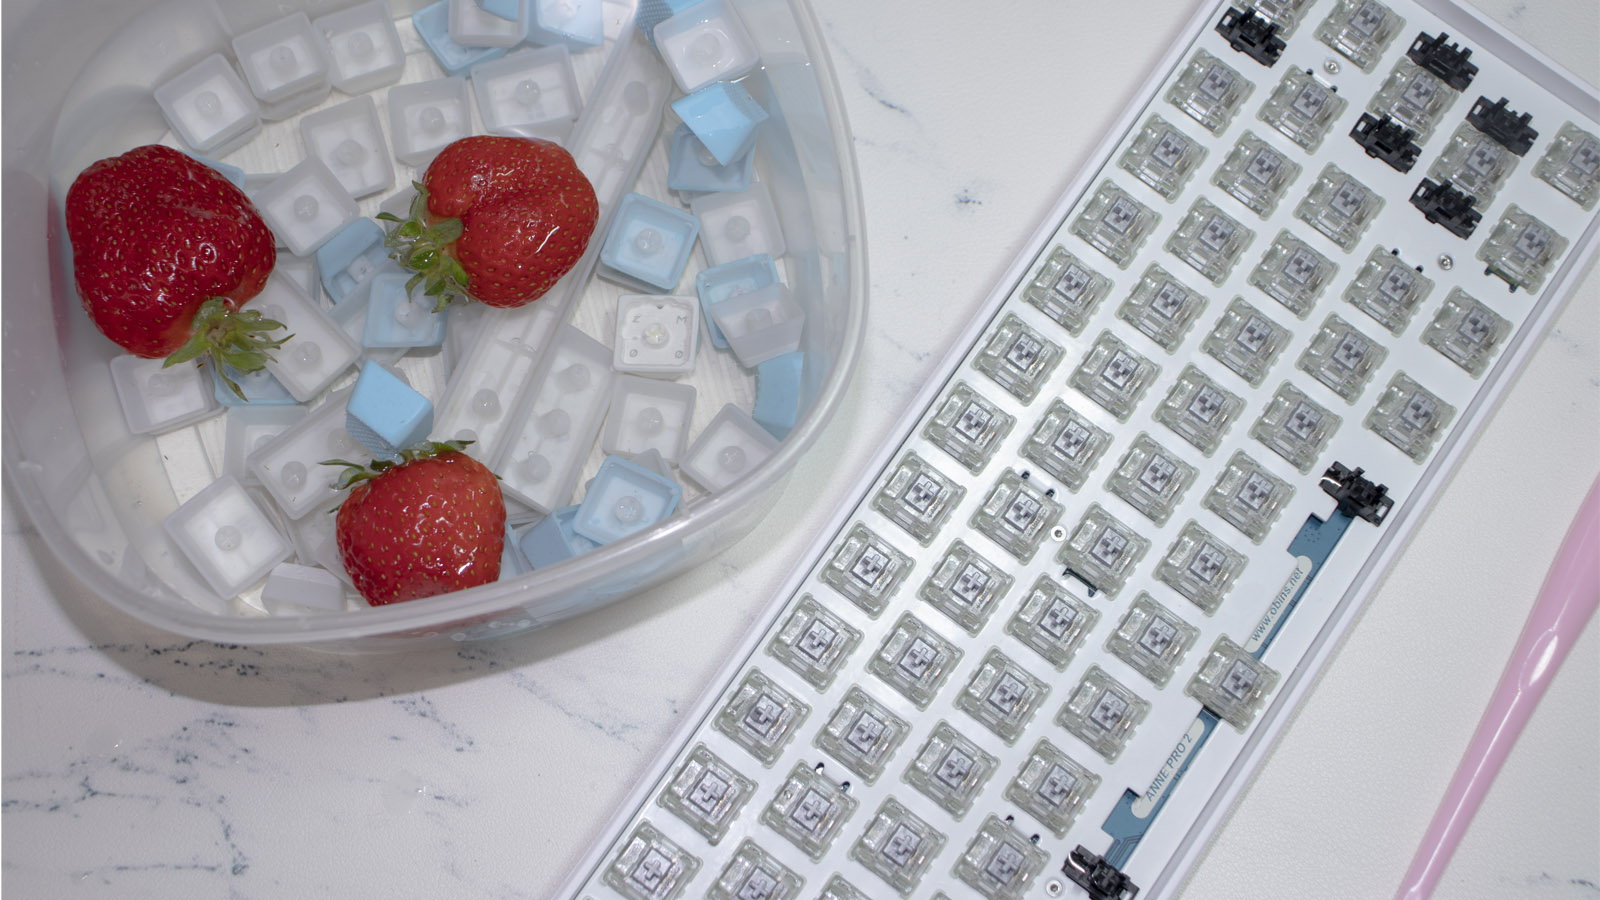
Wipe the plate with a damp cotton swab or toothbrush. I use the toothbrush, it does a great job of removing stuck-on dirt and collecting cat hairs that are stuck in the switches (pet owners will definitely understand). I dampened the brush with isopropyl alcohol.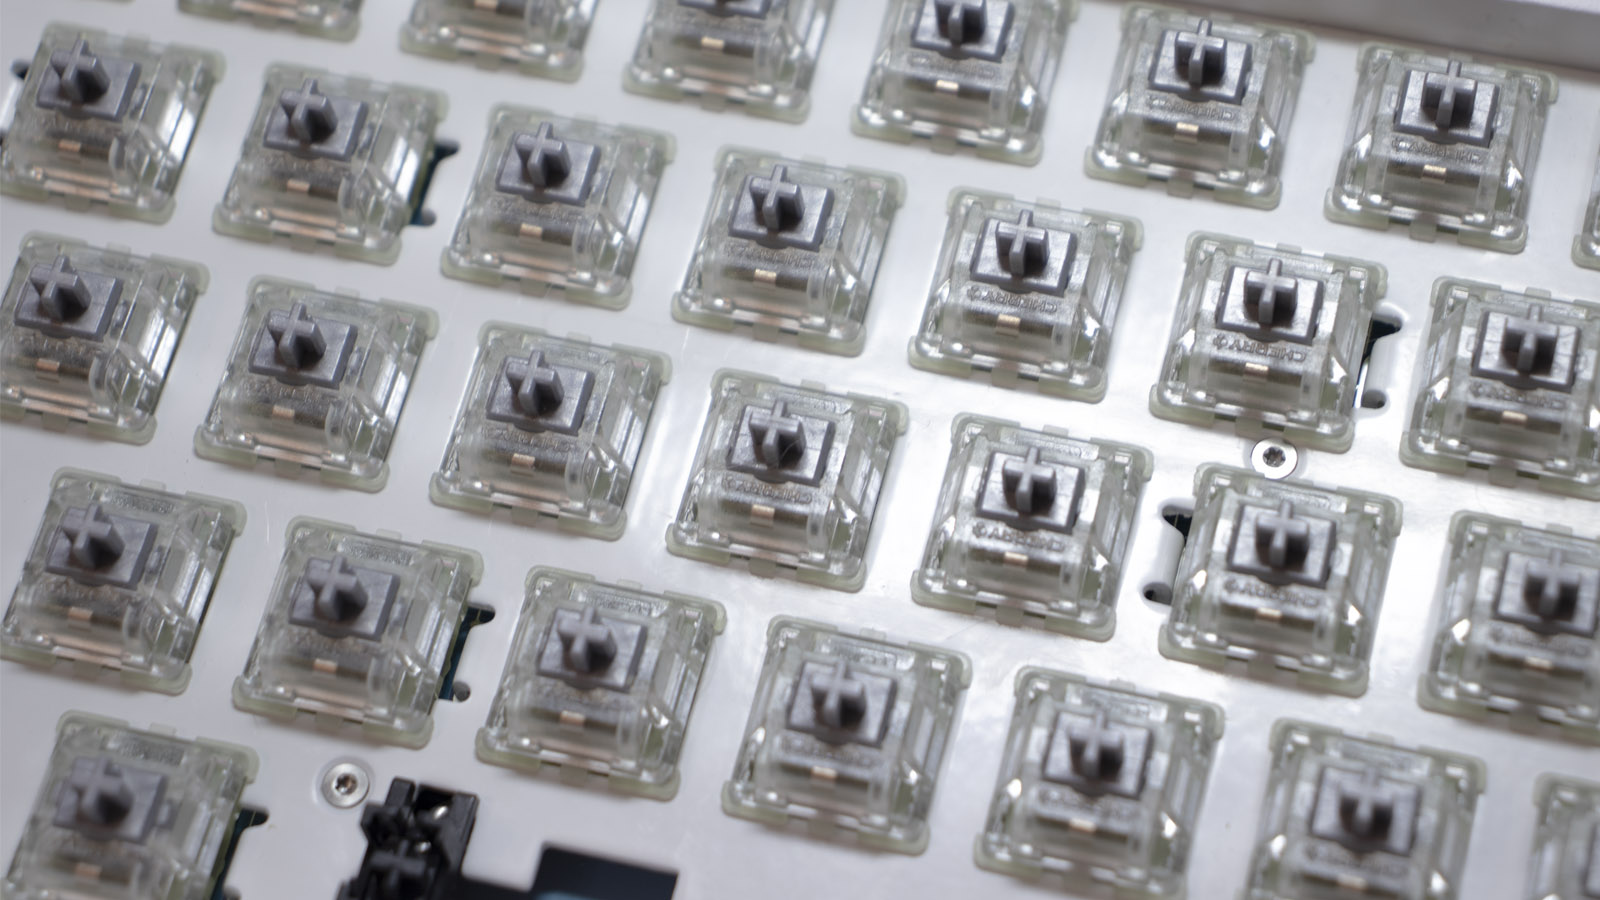
WARNING! If your switches have a transparent part, the use of isopropyl alcohol will be at your own risk — polycarbonate may crack and break apart. To avoid damaging the switches, you can dilute the alcohol with distilled water or use vodka. A glass cleaning solution also works very well.
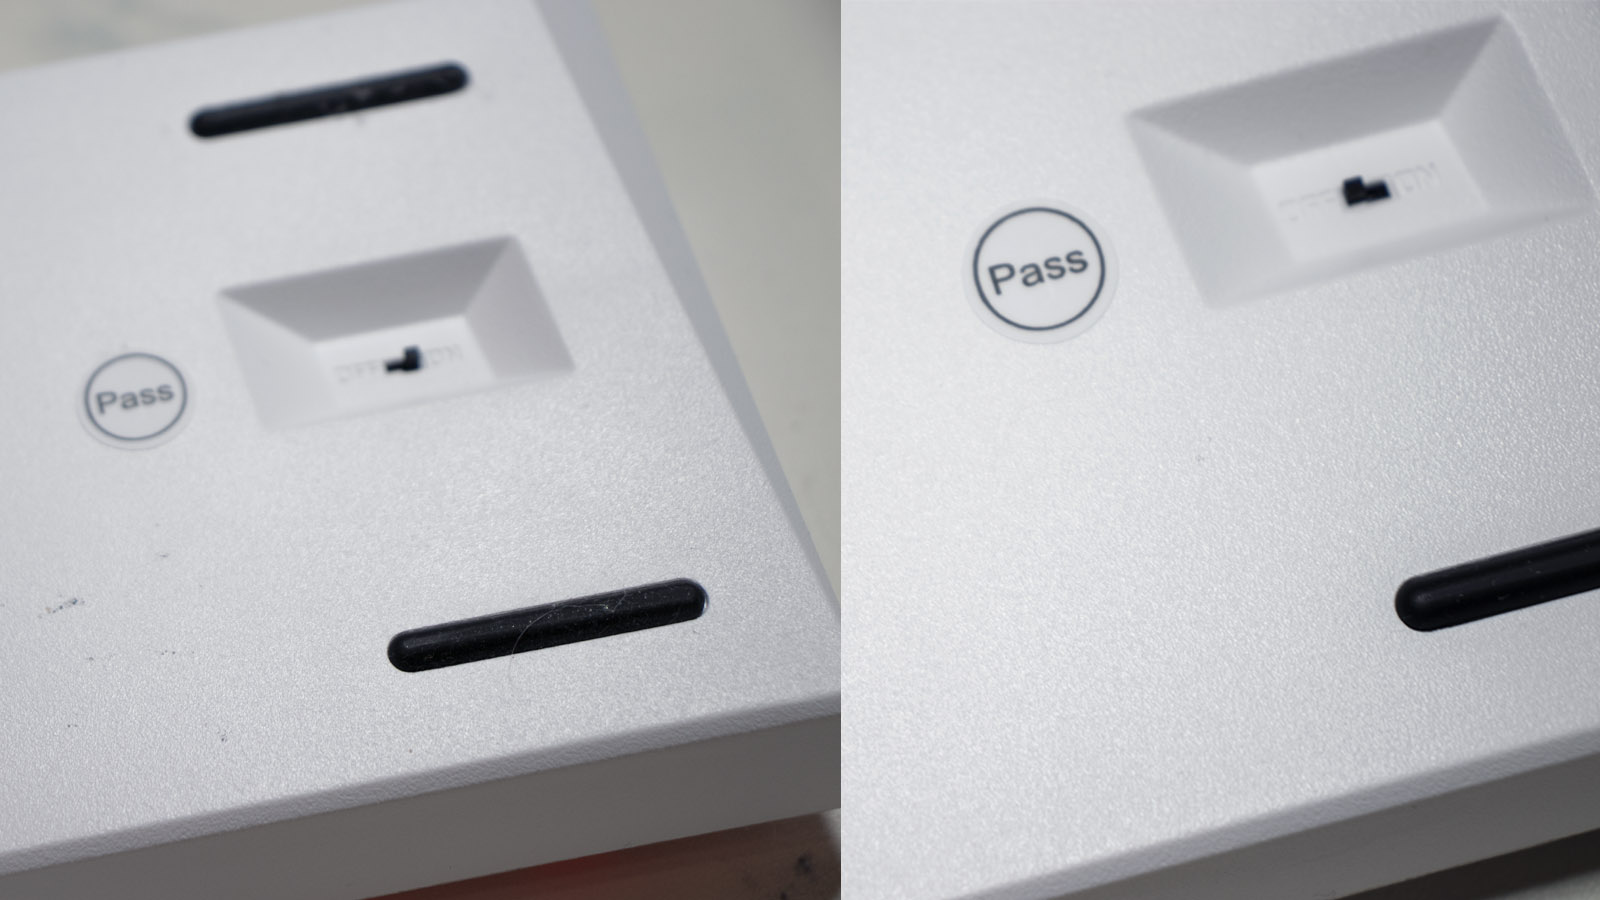
Don't forget about the case as well. All the same: water, cloth/sponge and detergent, if necessary.
Step 6: Drying and Reassembly
After all the procedures, the keycaps need to be dried perfectly, so that the water does not accidentally get into the switch itself. Lay them out on a napkin and let them dry. If you put them on a radiator or direct a fan at them, the drying will go much faster.
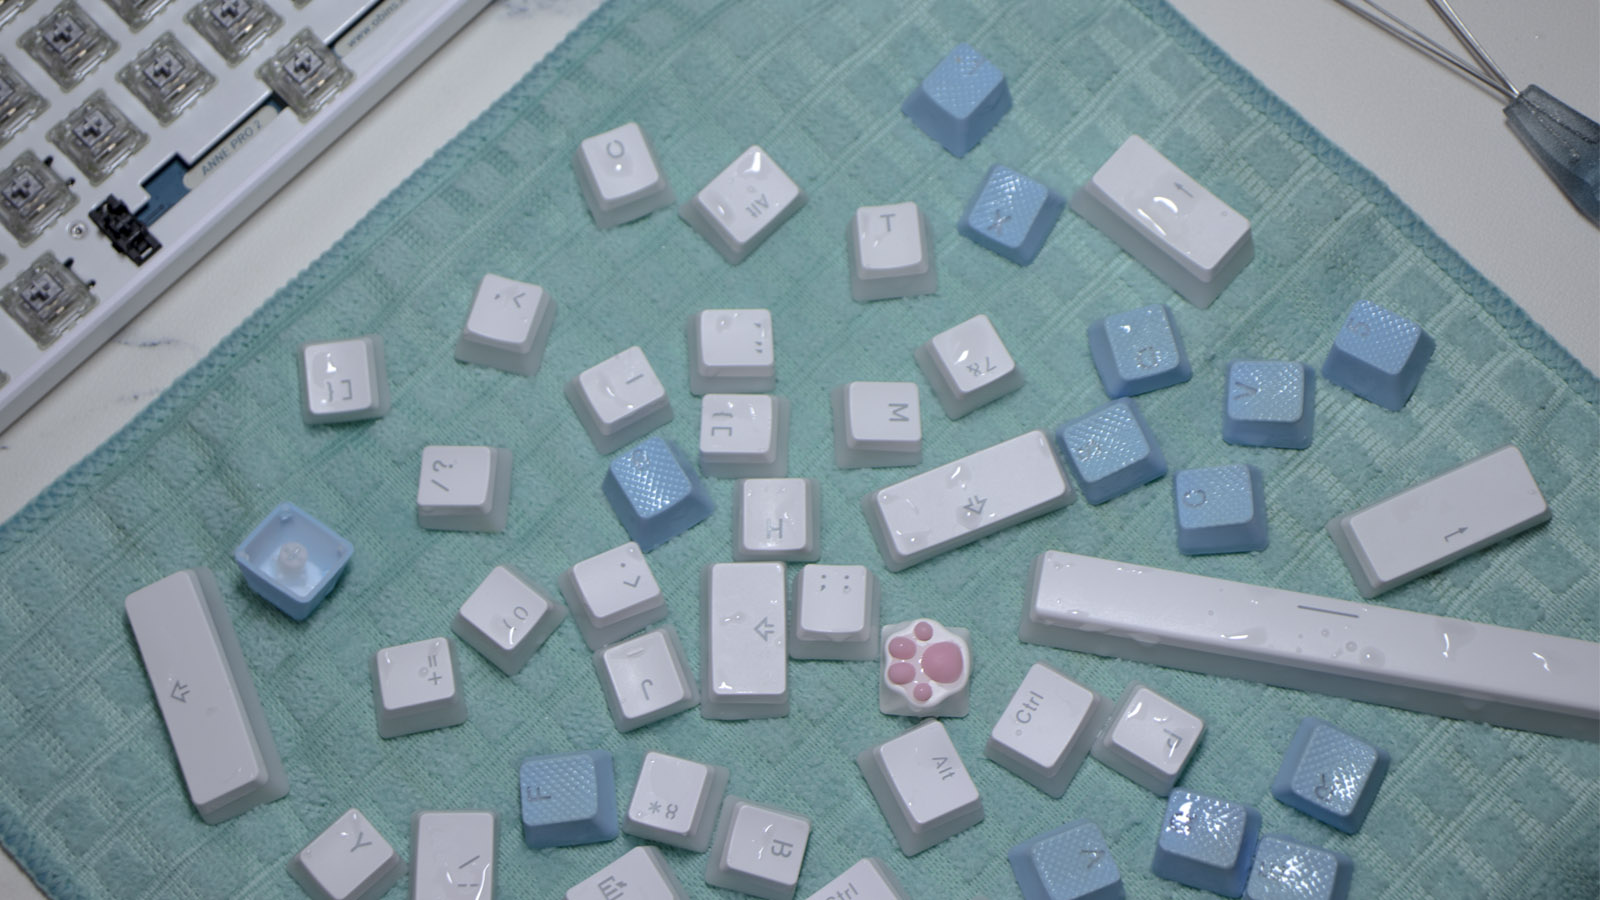
Personally, I just wiped them with a cloth and "blew out" all the water from the underside of the keycaps. It takes longer, but it's more familiar to me.
[Image: Wiping keycaps dry]
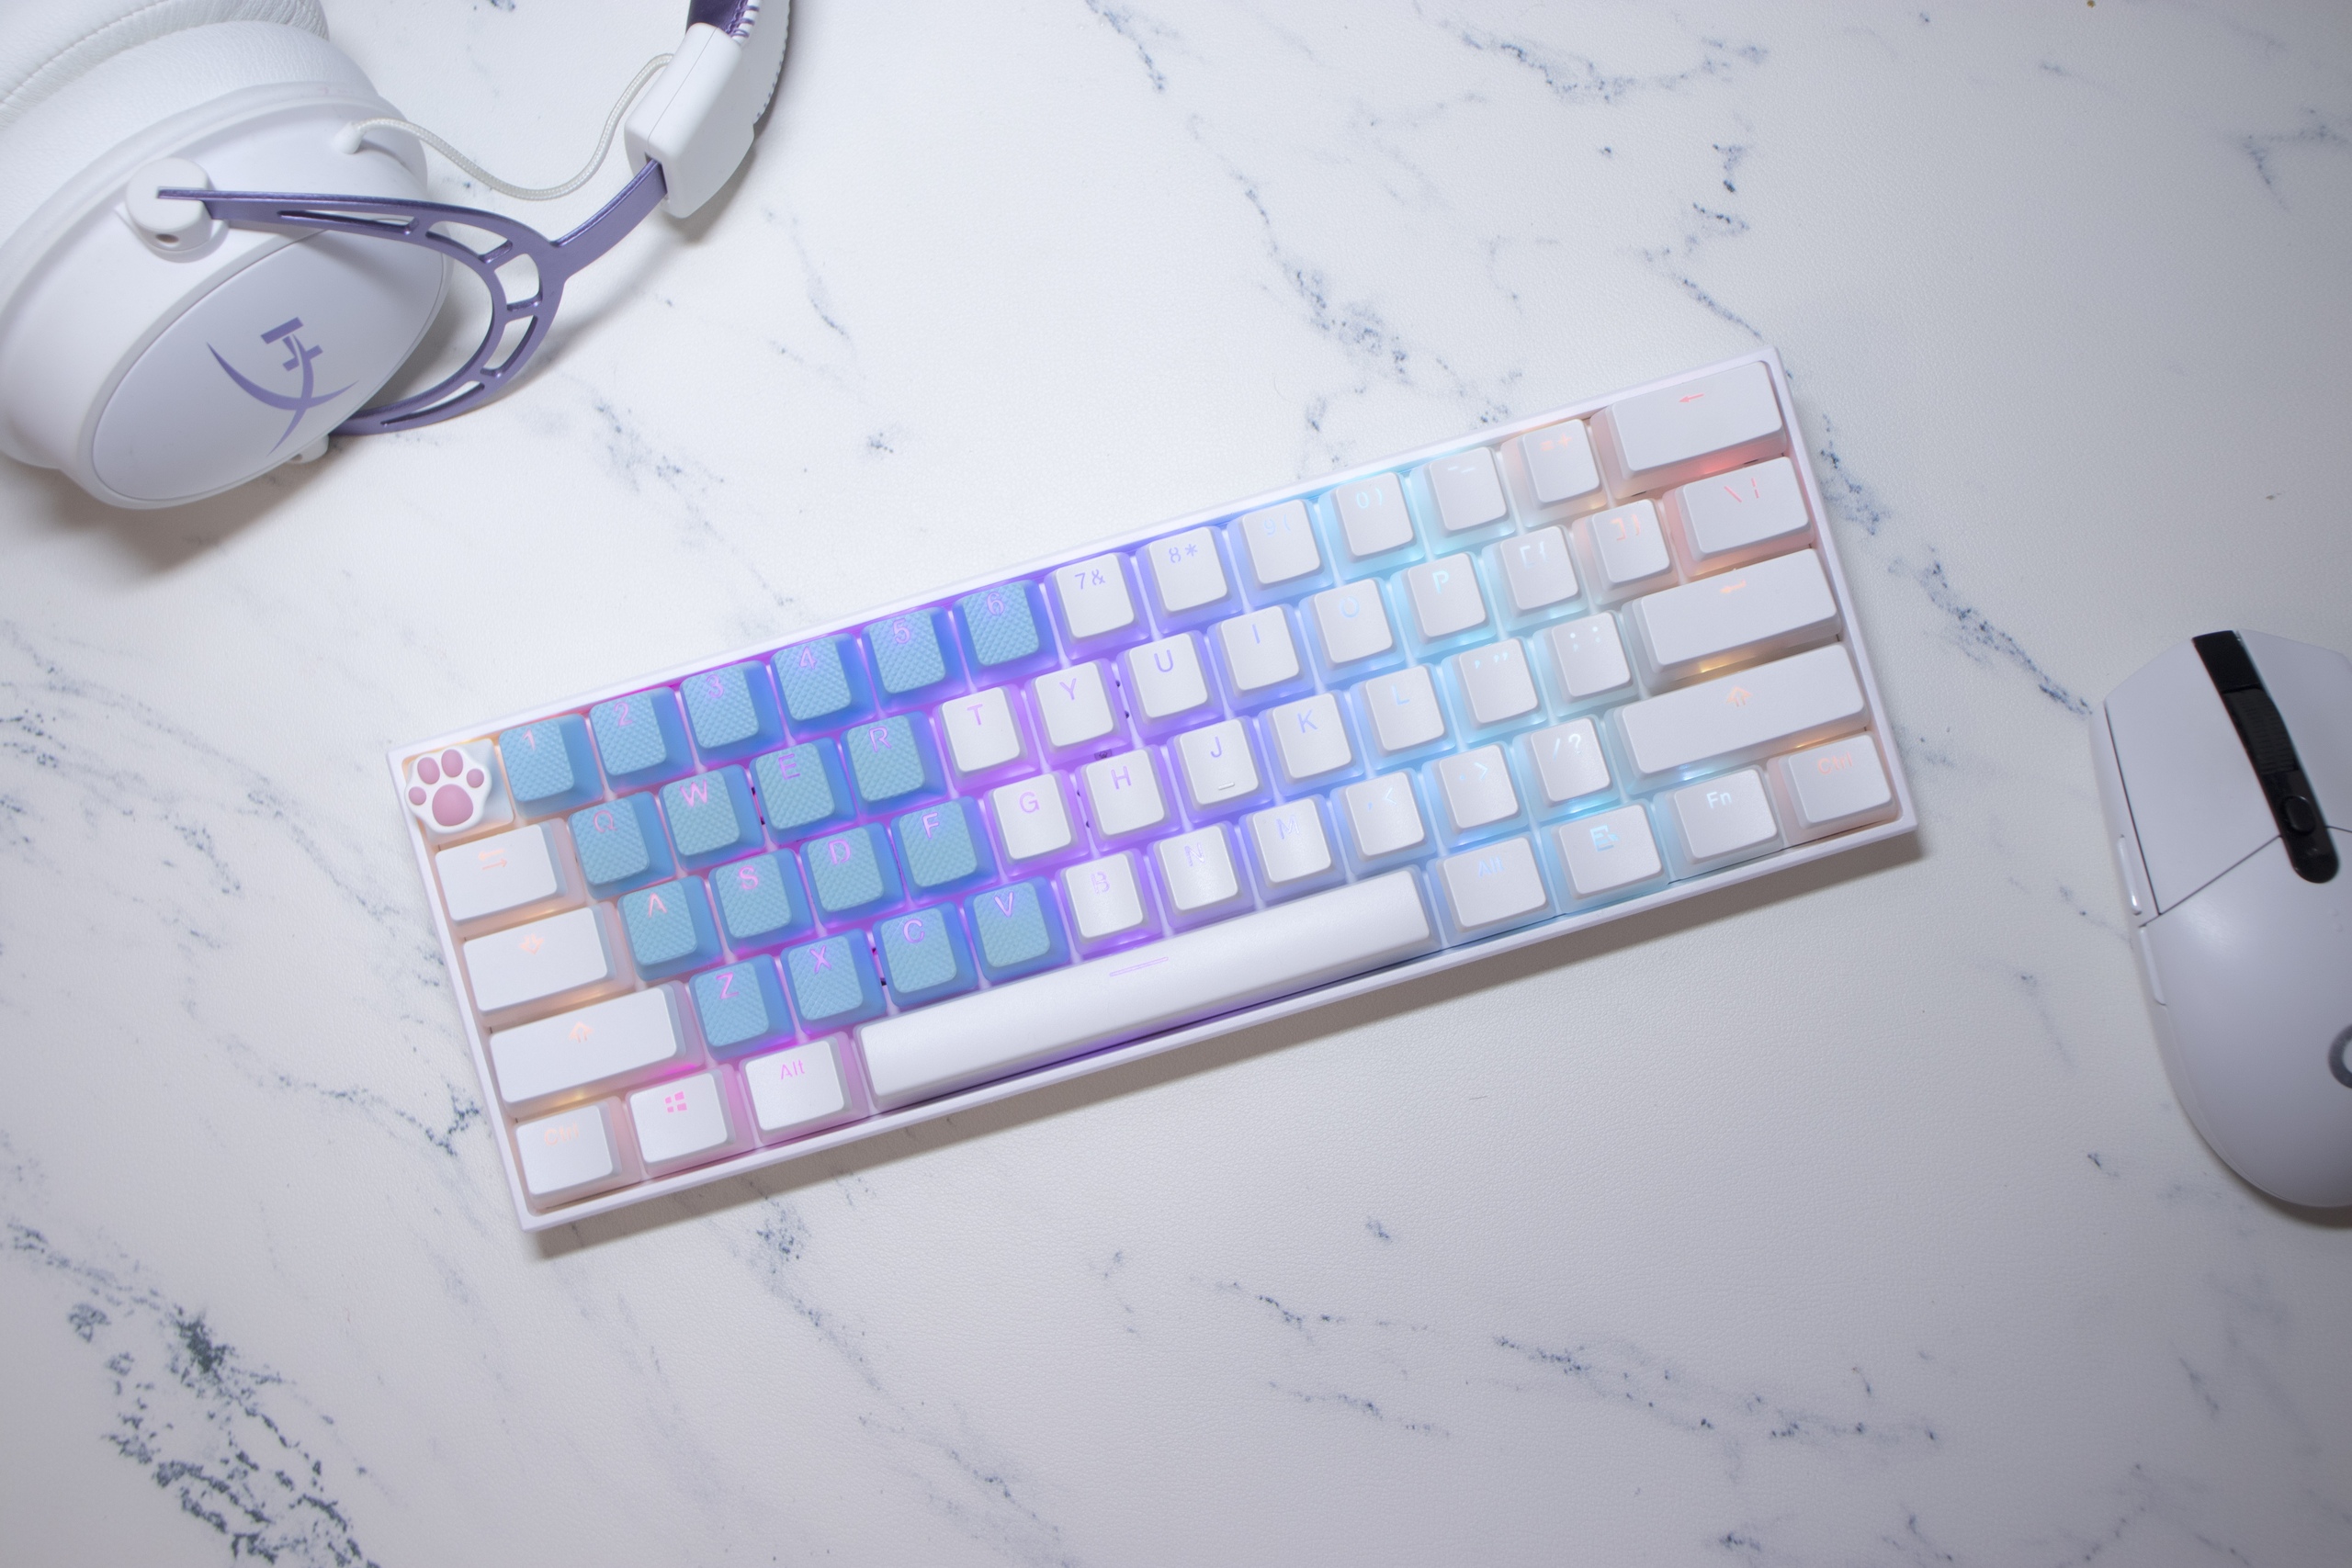
Put the dried keycaps back on the keyboard and enjoy the result. Everything is simple and easy. The main thing is not to forget that keyboards often break due to dirt.
Additional Tips for Mechanical Keyboard Maintenance
If there are stains that can't be cleaned with detergent, you can try wiping them with alcohol, but there are exceptions: ABS plastic, case/keycaps, plate. PBT plastic with impurities, case/keycaps, plate. You can wipe off the top layer and it will look very ugly. Therefore, if you are in doubt — it's not worth the risk. Or dilute the alcohol well with water.
Professional Mechanical Keyboard Cleaning from Geekboards
And now a little bit of advertising. We have a preventive keyboard cleaning service. In general, we do exactly the same thing, but for a fee. If you are too lazy to do this yourself — come to us!
We'll take care of your beloved mechanical keyboard and restore its original appearance and functionality.
Mechanical keyboards require regular maintenance — and now you know how to do it properly!

